Drip System Repair

Drip System Repair

A irrigation tube covered in several layers of black electrical tape.
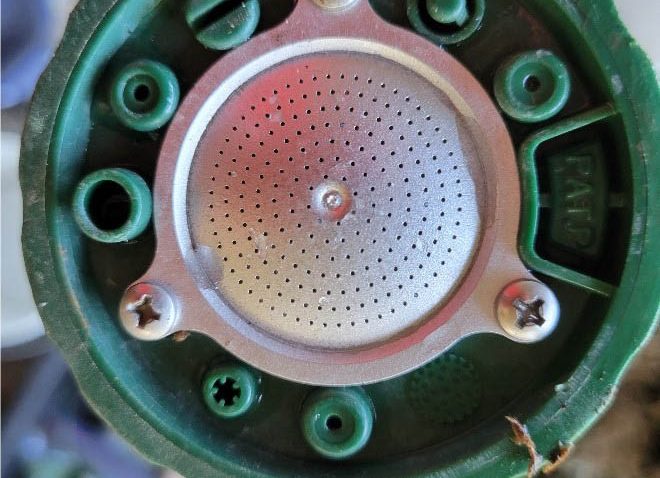
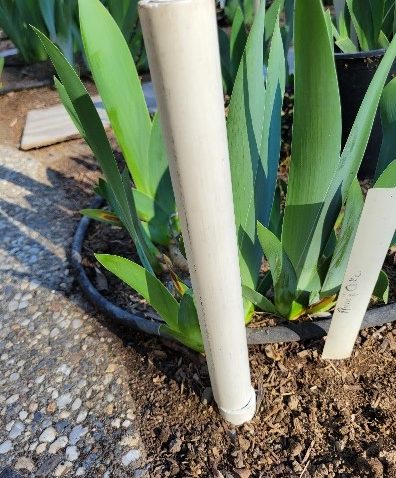
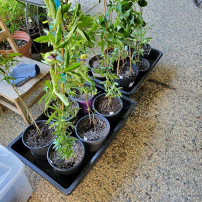
If you have a drip system in your garden, you will sooner or later have leaks. Most commonly these are caused by severing a half inch supply line with a shovel, but there are numerous other causes like critter damage. The tubing shown in the first photo was damaged by sun exposure over many years that left it brittle, and then being stepped on which led to severe cracking. You can see that I solved it with multi-layers of electricians tape. Surprisingly, that worked for months, but when several leaks appeared, additional tape did not stem the flow.

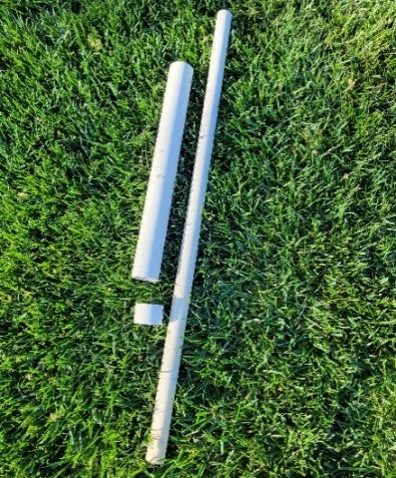
A trip to Home Depot revealed something new. Rather than having a bunch of bins for fittings of slightly different tube sizes, there were only 3—straight, elbow, and T. This new design accommodates all variations of half inch” tubing. So, I used 2 couplings to insert a new 3 foot section of tubing and buried it this time.

A view of drip system parts needed for repairs.
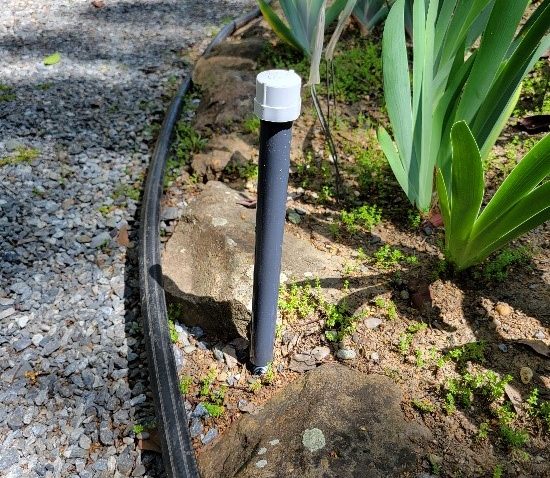
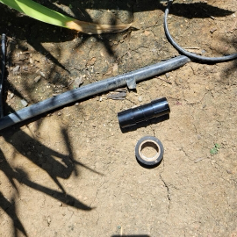
The one thing I want to caution you about is the amount of strength required to force tubing into the coupling. One of the joints leaked. I foolishly tried to solve the leak with tape. Finally, I realized that all I had to do is force the tubing farther into the coupling. Duh. Now, I dont mean to discourage your use of electricians tape. Generally, it will solve minor leaks. Just remember to really stretch the tape tightly as you wind it around the tubing. The second photo shows a new coupling and a handy small roll of tape next to an old repaired leak that has worked well.

-Stan (Just call me Dr. Drip) 

P.S. You cannot use these couplings to repair severed soaker hose. The hose walls are too thick to fit into the coupling. You will need to use an internal barbed coupling.

Summer Pot Watering

Summer Pot Watering

Several potted plants being watered in a black plastic tub.You know the rule about watering potted plants—water until the water runs through. I watered the plant that LaVille is holding just last night. Well, water did run through, but look at the dry section she is pointing out. I was surprised at how quickly the passion vines had been wilting. It is obvious the water was just channeling through without soaking the soil. We thought the rapid wilting was due to the pot being too small, so LaVille started repotting into 2 gallon pots. As soon as the first gallon pot was emptied, it was obvious what the problem was. She decided to go ahead and repot all 12 passion vines anyway. We then soaked the new pots into the tubs shown in the second photo.


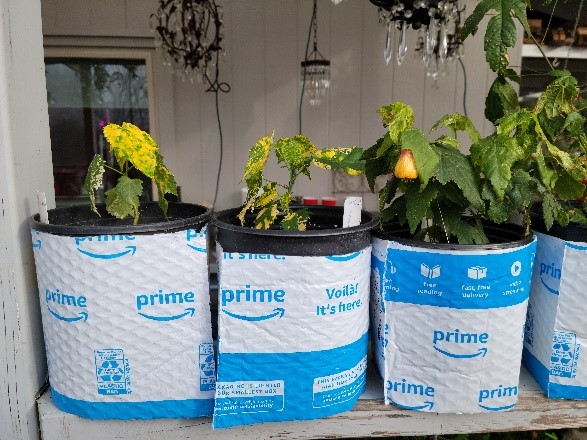
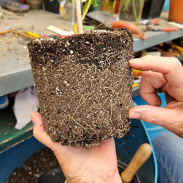
So, I guess the lesson for you is this: If you let a potted plant get really dry, watering so that the water passes through may not insure thorough soil dampening. You might try lifting the pot after watering so see if the weight indicates water retention. I suppose you could insert a moisture probe deeply into the pot to check moisture at different levels. And, of course, if you choose soaking the pot, dont forget to remove it. A drip pan would be another solution.


Incidentally, we found over a dozen caterpillars on these plants. We transferred them over to the huge mother plant. We will soon have a yard full of gulf fritillary butterflies. You could experience that same joy.


Stan, The Soaker Man

Watering Wand Problems

Watering Wand Problems

A watering wand still in the box.

Many months ago, I recommended the H2O WORKS water wand—the one pictured below. And it is a great wand . . . until the spray head gets clogged.

In my first article, I lauded the tremendous number of holes in the spray head—hundreds! These create a fine spray that won’t disturb the soil in a potted plant. But these tiny holes tend to get clogged.

Close up of a watering nozzle.

Now, there is a very simple fix—use your Phillips screwdriver (Don’t tell me you don’t have one of these!} and remove the 3 screws holding the spray head cover (again, shown below). Use a toothbrush (You better have one of these!) and clean the gunk or grit from the screen. Now, if this spray head simply had larger holes, there wouldn’t be a problem, but at least you are able to remove the clogs, which often isn’t the case with hose sprayers. So, if you have followed my advice and have purchased this sprayer, now you know how to keep it working properly—I would be depressed if I learned that you felt I had led you astray.

Stan, The Fixit Man

Hose Helper 2

Susan W. read my blog about a hose helper, and then came up with an improvement. Her soil is so rocky that it would be impossible to pound pvc pipe into the ground. Instead, she hammered a short length of 3/8 inch rebar into her terrible soil. At Home Depot she found 1 foot lengths of gray, threaded pvc and screw caps.  When that pvc was slid over the rebar, the cap prevented it from hitting the ground. Now, when a hose is dragged around the hose helper, the pvc pivots and easily lets the hose pass around it. So, you now have a second method of constructing a hose helper. If you don’t want to get involved with rebar, simply use 2 sizes of pvc and place a cap over the upper end of the larger piece. By the way, if you have never been to Susan’s property, make every effort to do so. She and Bill have landscaped their hillside property beautifully—and the view—truly amazing! Yards and yards of planting mix were wheelbarrowed down to each of the beds. Stan, The Envious Man
Hose Helper Rebar + PVC

Threaded PVC and cap over rebar

Hose Helper

Hose Helper

Dragging a hose around the garden can be an unpleasant if not a destructive chore. There are spool shaped devices that can be staked into the ground that can guide the hose around the garden. I have never tried one, but I suspect that the hose may not remained trapped in the spool. Below you can see two setups for keeping a hose away from plants. The first one guides the hose around a metal pole that is supporting shade fabric. The second one is one you might consider installing. It consists of a 2 feet length of ½ inch pvc hammered into the ground surrounded by a 1 inch length and a 1 foot length of 1 inch pvc. The 1 foot length pivots on top of the 1 inch piece.

Now, you can buy ½ inch and 1 inch pvc at Home Depot or Lowes, but they come in 10 foot lengths. If you would like to set up your own system, I have both sizes that I can cut for you.  Oh, I have the 5” and 3 ½” ABS pipe if you want to construct hose guides out of them. I don’t throw anything away. You could spray paint your device a color to make it blend into the garden, but I prefer the white in order to avoiding tripping over it.

Stan, The Hoarding Man

P.S. I hope you will take me up on my offer. I would love to help you protect your valued plants from that dratted hose.

Primed Pots

Primed Pots

          Growing plants in those ubiquitous black gallon pots can pose a problem.  Some plants prefer full sun exposure.  However, intense sun rays are absorbed by the black plastic surface and converted into heat.  When the planting soil within get hot, root damage results.  One solution to this dilemma is to line the insides with bubble wrap.  A much easier solution is to shield the outside.  I have found the perfect heat barrier.  Amazon sends a lot of its items in white bubble wrap pouches.  The most common size they use fits around a gallon pot perfectly.  If you cut the bottom off and cut the height in half to about 6 ½ inches, you will create tubes that will easily enclose two pots, keeping them cool, and yet allowing the full exposure of the sun to your happy plants.  This technique creates a reusable shield that will postpone recycling and most certainly prevent deposit in the local landfill.  If you are receiving Amazon Prime delivery pouches and have no use for them, we could certainly use them.  LaVille, for instance, transferred 30 abutilons into gallon pots today.  However, LaVille says I can’t order more stuff from Amazon just to get more bags.

Stan, The Reusing Man

P.S. I measured the temperature of the soil 1 inch from the edge of a shielded and an unshielded pot today at 3 PM.  Shielded – 74 degrees  Unshielded – 94 degrees.  These are the results at the end of January.  Imagine the results in August!

P.P.S. If the sight of all the advertising bothers you, turn the tubes inside out, but I’m not sure the shields will be as effective. I’ll test that out tomorrow and send you another email if there is significant difference.

Bubble-wrapped pots

Bubble-wrapped pots