by Stan Logan | Nov 23, 2021 | Container plants, Irrigation
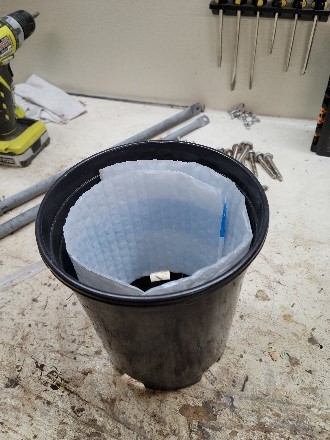
Cindy Eastman has her own method of dealing with hot pots. She lines the inside of her gallon pots with bubble wrap. If you are like me (sorry), you have a number of bubble wrap delivery pouches laying around waiting to be stuffed into the recycle bin of your local store. Consider re-using the plastic by cutting the bags into strips that can be wound around the inside of your black plastic pots. If you would like to show your gardening friends how clever you are, cut the strips a little wider so that they show above the soil level. I’m sure their curiosity will lead to fascinating conversation.
Stan, The Re-user Man
Bubble wrap lining a garden pot
P.S. The pot pictured looks quite tapered, but it is just the angle of the camera. I appreciate those of you who have been responding to my blogs. It often gives me ideas for future articles.
by Stan Logan | Nov 12, 2021 | Container plants, Irrigation
I suspect that many of you are growing plants in black plastic pots. The reason, or course, is that they are free. Whether they are small 4 inch square pots or 3 gallon round ones, there is always a free source for these containers. My main source is the Redwood Barn nursery in Davis. Customers constantly return used pots to the nursery for re-use. My concern is that you remember that these black pots are easily heated by the sun, and root damage can result. Even though the sun’s rays are less intense in the Winter, the rays are coming in at a lower angle and strike the sides of your pots more directly. The air is cooler now, but the sun can still release a great deal of heat into the soil of your potted plants.
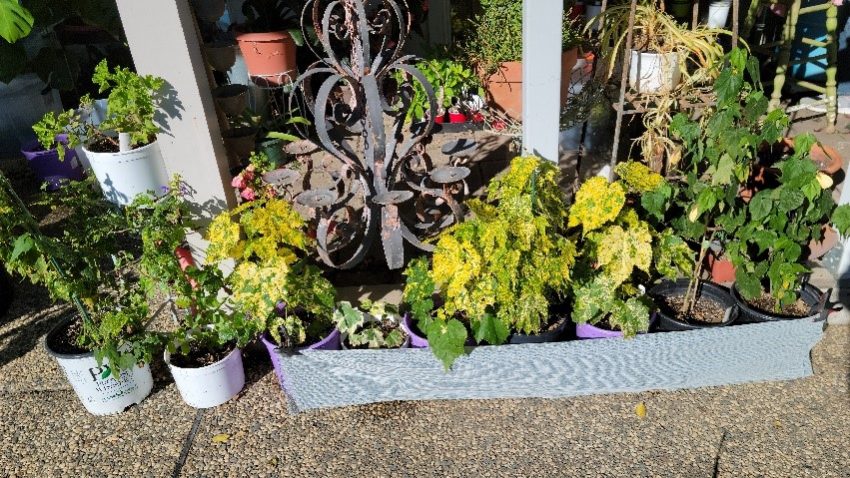
If you are growing plants that prefer full sun, you can still use various techniques to shade the pots. I’ve shown one of these below where I have clamped shade cloth in front of the black pots. Hopefully you have a more esthetic technique in practice. Notice that the white pots on the end have no sun shield because they naturally reflect the sunlight and don’t convert it into heat. So, if you wish to avoid the whole problem, use white pots. I noticed that Amazon has a great selection from 3 inch to 7 gallons. White pots show plants better anyway, don’t you think?
By the way, LaVille plants most of her “mother” plants for propagation in white pots—pots that will not go to sales by accident.
Stan, The Cool Man
White pots and shielded pots
by Stan Logan | Nov 10, 2021 | Garden tools
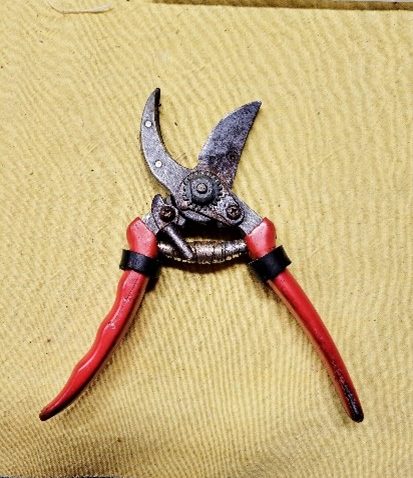
Before Plasti Dip Clippers |
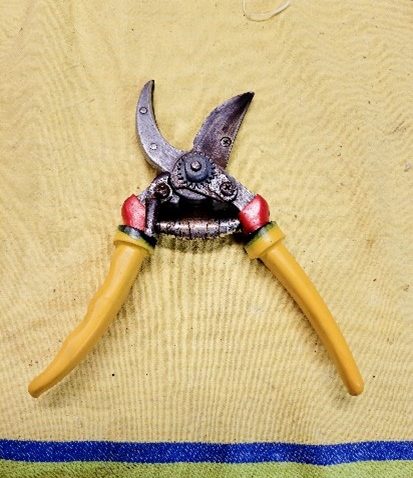 Clipper handles after Plasti Dip |
LaVille kept complaining about her favorite pruner. Her hand kept slipping down the handles toward the blades where she has less mechanical advantage. My first solution was to slide a couple pieces of rubber hose over the handles to act as slippage stoppers. Well, that worked fairly well except she started developing a callus where her hand met the black hose piece. My latest attempt to alleviate her agony was to buy a can of Plasti Dip. This is available on Amazon in a good variety of colors. I chose yellow as it is my go-to color for finding misplaced tools. You dip the tool handle into the tall, slender can and hang the tool to allow it to drip off excess and dry for 4 hours. What you see in the second photo is the result of 3 dippings.
You know, if you accomplish nothing else, you could use this technique to identify your own tools. Don’t you think it would be classy for all your tools to have the same color handles?
Quiz of the month. You will note that I ended up with a tool with red, black, and yellow handles. Name 3 major countries that have these 3 colors in their national flags. The first reader to respond by email with the correct answers gets . . . . nothing but my admiration. I know—Wow!
Stan, The Helpful Husband
P.S. You may have noticed in the first photo that the grips had worn through to the metal. You may consider this technique as a nifty means of tool upkeep. If nothing else, I would suggest you try Plasti Dip as simply a very different and easy project.
by Stan Logan | Oct 25, 2021 | Garden art
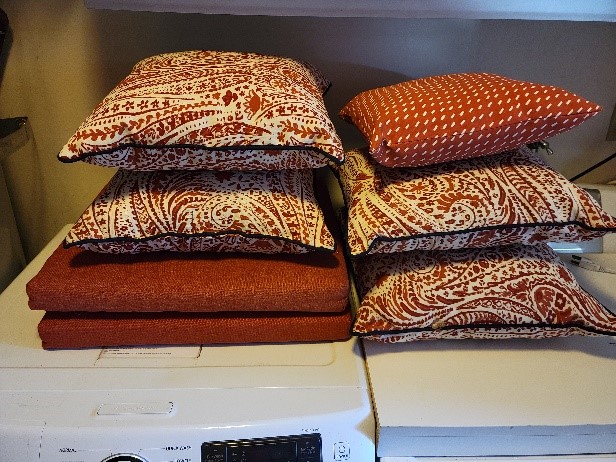
Outdoor pillows
The timing is right for me to pass on a cleaning shore I just discovered. The cushions you see below were on a bench in the back yard. When I pulled the bench under cover before the recent storm, I found the cushions to be covered with a sticky substance. The bench is located under our huge hackberry tree, and although I applied a systemic, the wooly aphids attacked again. Power washing did a decent job of cleaning the cushions but left them soaked. Hanging them on a clothesline left them soppy at the bottom. Then I thought of the clothes washer thinking that the spin cycle would remove most of the water. Since the cushions were small, I was able to fit several at a time into the washer. I used very little detergent and the cushions came out sparkling and practically dry. A fan finished the chore.
So, if you have outdoor cushions, now may be a good time to wash them before storing them away for the winter particularly if they got wet in the recent storm. If your cushions are large, I would still suggest you try squishing them into your washer. But better consider the cushion content first. I wouldn’t use this technique of washing unless the stuffing is a foam rubber pad. A front loader machine might also work better than a top loader since there is no agitator to mangle the cushions.
Stan, The Washer Man
by Stan Logan | Oct 22, 2021 | Design
If you are reading this article, you are probably of an age when you realize that life is short. To that end (so to speak) we gardeners must do all we can to surround our remaining lives with glorious plants. So when you decide that a plant in your garden no longer falls into the “glorious” category, grab your trusty spade and give that plant a good shovel pruning. Then, replace it with a new plant that will lift your spirits to a new level. However, limit your shovel pruning to your own yard. Your neighbors may not appreciate your efforts to improve their lives.
Stan, The Shovel Pruning Man
