
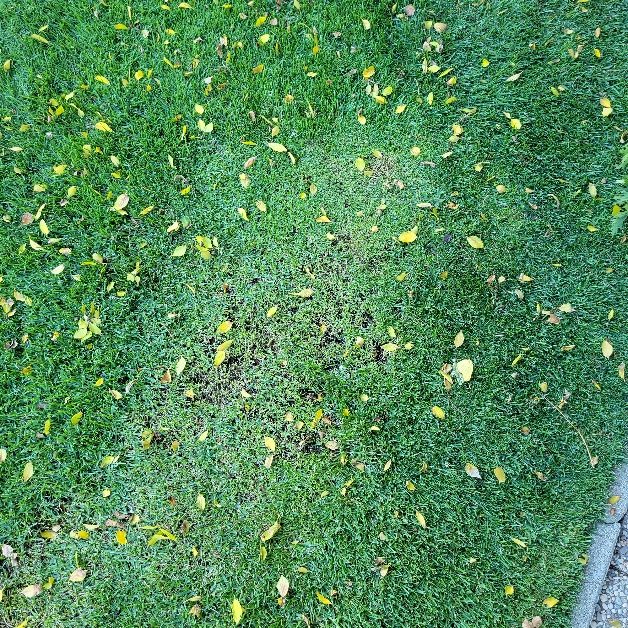
Lawn Holes
Oh! You have no lawn. Well, good on you. (Bad on me?) Simply skip this blog and continue scrolling. Now if you have a lawn, there is a chance that there are holes, or let’s say low spots. If you are one of those perfectionist weirdos who cares about a perfect lawn, please read on.
First of all, you need to scalp the grass in the low area. Set your mower for a low setting. Then use a leaf rake to raise up all the grass blades. Scalp again. Sprinkle some kind of filler material into the low spot. Most people use sand. I applied used potting soil.
We kill potted plants on a regular basis. If the plant is relatively new, I just put the soil back into the potting soil barrel. If the plant has been in the pot for a long time, I put the soil into a tub that stores that soil until a need in the garden arises. Sprinkle your filler material over the scalped area.
Use an inverted steel rake and rub it over the surface to level the surface and work the filler into the grass. Now water the area with a sprayer that forces the filler down into the grass. I use a power washer, and that works really well.
There you have it. What was surprising when I did this, and I used two applications about a month apart, the treated area actually looked healthier than the rest of the lawn. The used potting soil apparently still had unused fertilizer mixed in it.
Stan, The Perfectionist Weirdo
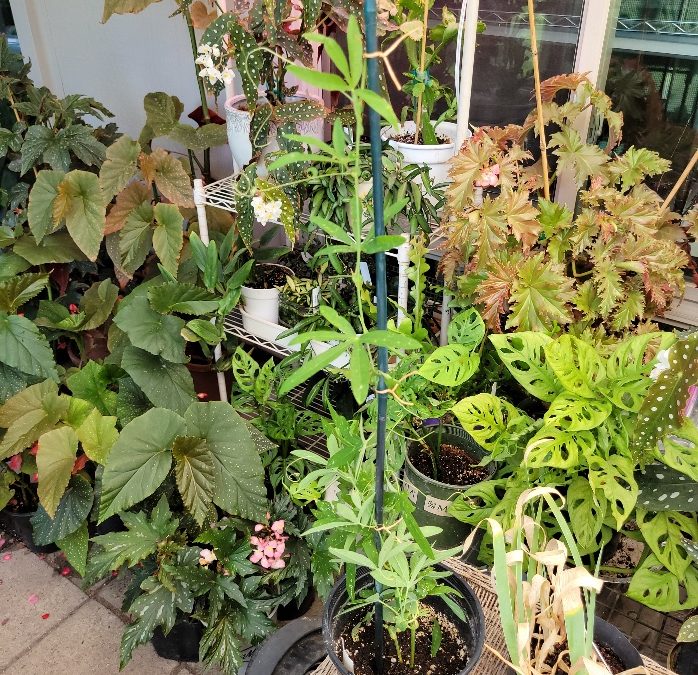
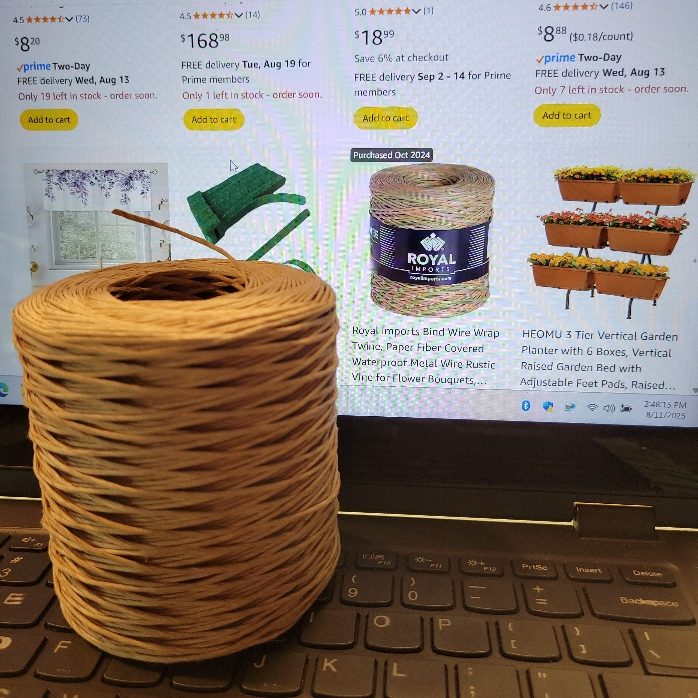 For those of you who frequently tie up plants, here is a great money saver. In the photo you will see a ball of paper wrapped wire. For $9 you can buy almost 700 feet of paper wrapped 26 gauge waterproof wire. So, you are basically paying 1 cent per foot. I would say, even if you have been prolific in your family propagation, you will have enough tie wire for your life time, as well as that of all your progeny.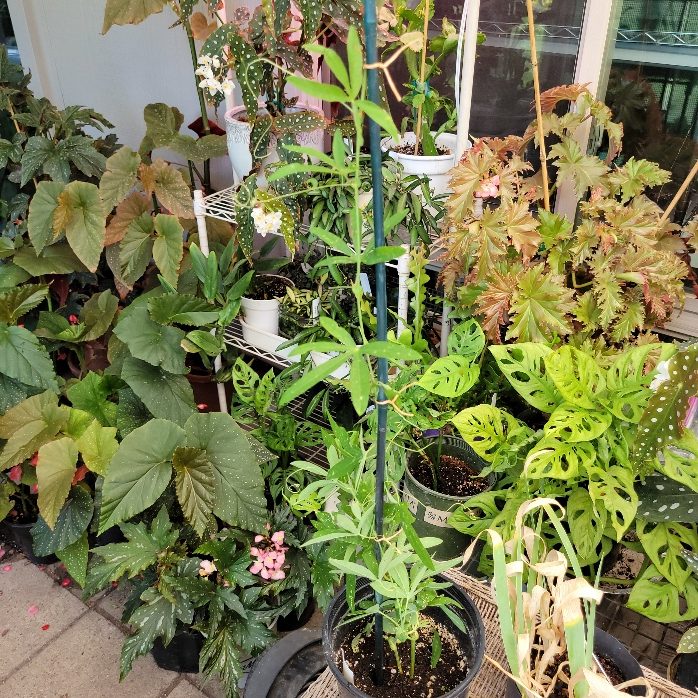
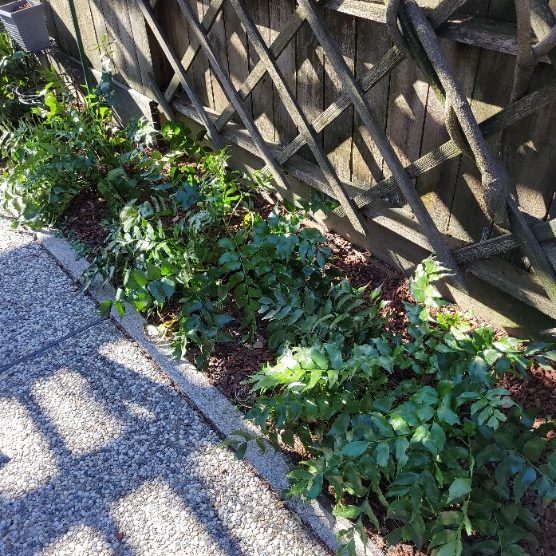
 I can’t remember ever recommending a particular plant before . . . well, except for LaVille’s Abutilons and Passion Vines. But I have had such success with Holly Ferns, that I can’t help but mention them. I probably have a dozen of these ferns now—on the south side of the house under a solid cover, on the west next to a solid fence, and on the north side near the front of the house. The key element is shade.
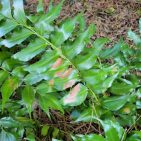 The first photo is poor because of the partially blocked winter sun, but in the summer, shade is complete because of a Wisteria overhead. The second photo shows what happened when the hot summer sun snuck around the north side of the house and burned a few leaves. The third photo shows that the weak winter sun shoots under a 12 foot cover to strike the plants. That last photo also shows the yellowing caused by a lack of magnesium in the soil. I recently treated with Epsom salts which will solve the problem for a couple of these plants.
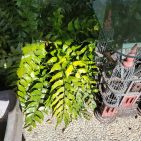 Happy Holly Ferns will spread to an excess of 3 feet. Moisture needs are moderate in well-draining soil, so yes, this is not a native plant if that’s your calling. But if you are an evil lawn lover like me, and have a shady planting area, the Holy Fern may be your dream come true, especially since they seem to be heat and cold tolerant and very low maintenance.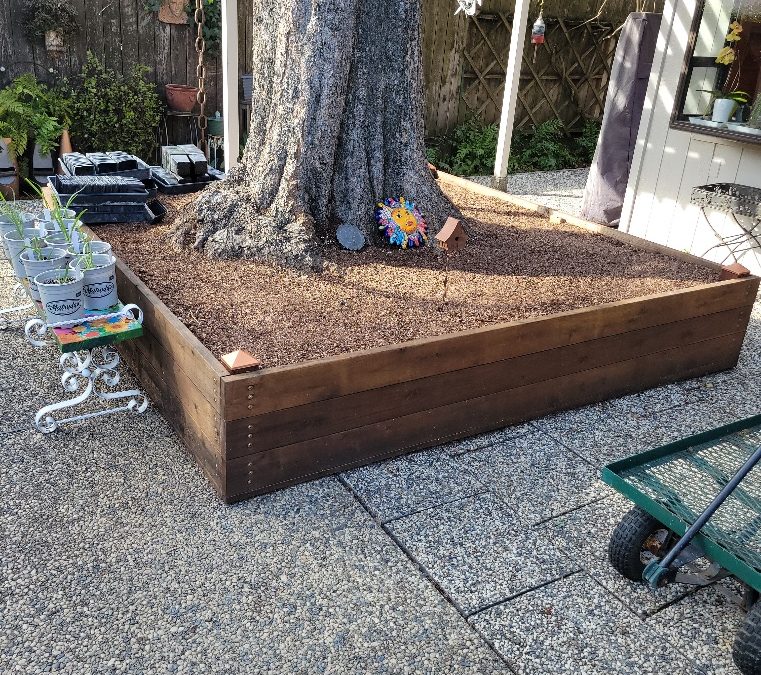
 Here is another bit of advice I’m going to give you, even though you could care less. You can see in the first photo the box that surrounds the base of our huge hackberry tree. This is the third box that had to be constructed as the tree grew. We have decided this time to leave the soil bare in the box. The previous box contained potted geraniums and cyclamen around the edges that had been sunken into the soil. Over seasons, we discovered that tree roots invaded the pots through the drain holes and were sucking the water out of the pots as well as the nutrients.
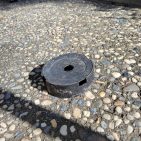 So, I dug the holes a little deeper and placed what you see in the second photo. This is the cut off base of a sturdy gallon pot with a large hole drilled in the center. When inserted upside down beneath the potted plant, this arrangement creates an air gap that roots won’t cross. So, there you have it—an idea for which you probably have no use. Interesting though, don’t you think?