by Stan Logan | Feb 18, 2022 | Garden tools
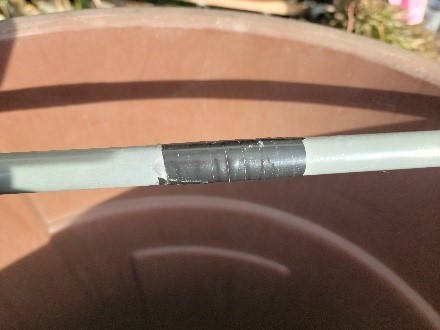
Figure 1 – Repaired Aluminum Wand |
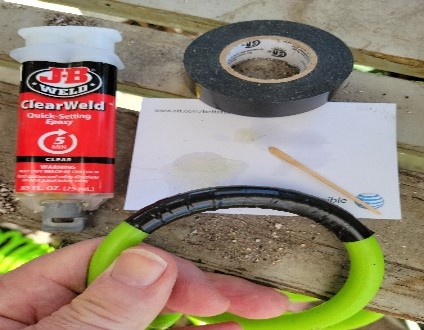 Figure 2 – Failed Leak Repair |
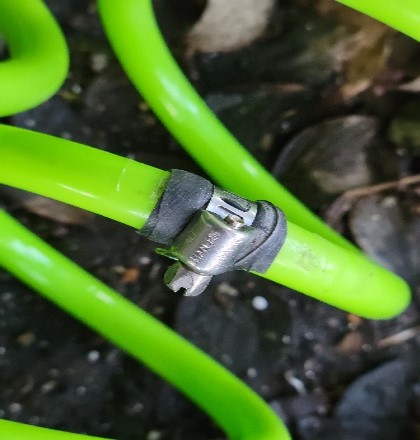 Figure 3 – Successful Leak Repair |
Have you ever had a problem that you were unable to solve? . . . Don’t you lie to me! Of course, that has happened. Although failure can be frustrating and disappointing, I think it’s a healthy option to simply accept the fact that you cannot succeed at everything you attempt. That scenario occurred recently when a leak appeared in the coiled hose that LaVille loves. (Not my sentiments, by the way.)
Since I had had success stopping the leak in an aluminum spray wand using epoxy (Fig. 1), I tried the same technique on her hose spreading an ample amount of epoxy over the area before taping. I was so sure it would work that I laid out the materials to be included in the photo (Fig. 2) for your information. I use JB Weld Epoxy so frequently that I just leave it out on my work bench.
Note in the photo that I mix the epoxy on a sticky pad with a toothpick and then simply tear off a sheet the next time I do a repair. Good idea, huh? Anyway, since both the electricians’ tape and epoxy were flexible, I thought the mend would work. Nope. Well, I thought a perfectly acceptable option would be to simply buy another hose, but when I attempted to uncouple the hose, it was really frozen at a union with mineral deposits. So, after that failure, I attacked the leak again with a tightly wrapped strip of bicycle inner tubing and a hose clamp (Fig. 3). The fix was a success this time, but only after failures.
I guess I’m sending a mixed message. I was willing to accept failure and go buy another hose, but the failure to be able to do that forced me to fight on until success was reached. In any case, I encourage you to think about using JB Weld for your repairs. and do your mixing on a sticky pad. But whatever problem you attempt to solve, be willing to accept failure as an option.
Stan, The Sometimes-Failing Man
by Stan Logan | Feb 17, 2022 | Garden tools
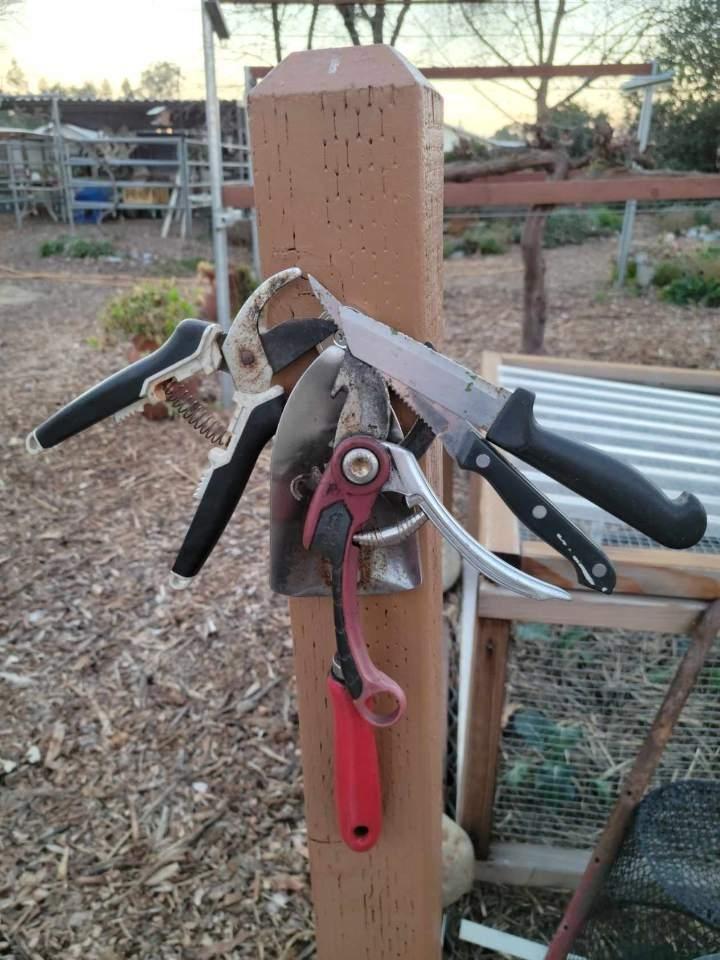
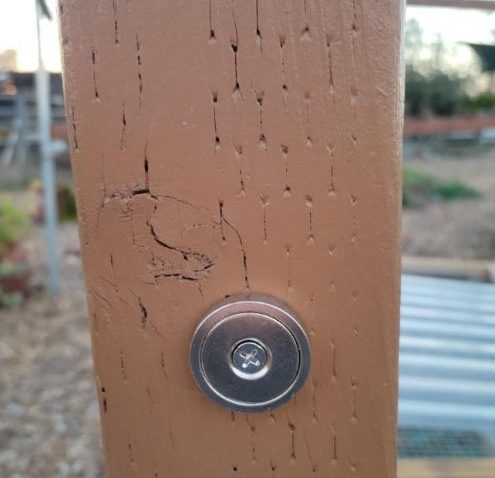
Yes, gardening friends, it’s time once again for another mystery tool contest. This tool comes courtesy again from Ruth Ostroff. (Do you remember her outstanding worm scraping tool?) This time you must guess the purpose of the round object attached to the painted post in the photo below. Once again, the person who emails me the correct guess first will be the winner. If no correct guess appears, I will reward the person who is most creative in her (or his) response. The winner will receive information as to how to buy this device.
The bonus challenge this month is to tell me the TV program that features a Mystery House in each episode.
And Beverly is disqualified for this contest since she clued us in to this series. Sorry Bev.
Ready. Set. Go!
Stan, The Mystery Man
Mystery Tool
GIVE UP? Click here to see this mystery tool in action.
by Stan Logan | Jan 26, 2022 | Container plants, Garden tools
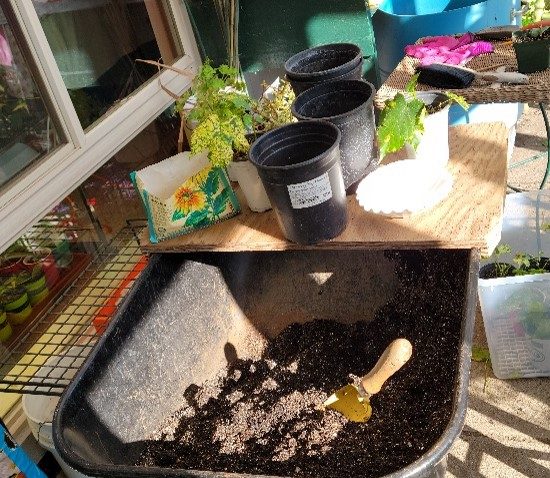
Here is an addition to your potting shed that is not new, but one that is new to us. LaVille was complaining about a sore back after working for long periods of time repotting plants. She was having to bend down into the blue half barrel that you can see in the upper part of the photo to scoop up potting mix. I turned our wheelbarrow, which is seldom used, into a potting station by cutting an old piece of plywood into a work surface and adding cleats to keep it in place atop the wheel barrow handles. Now LaVille can sit on a medium height stool and do her potting without bending over.
Wood tops wheelbarrow handles to form surface for potting plants.
The potting soil is a mixture of RediGro potting soil, perlite, vermiculite, and worm castings. Note the trowel that I have painted yellow (I hope you know why.) and the bag of Sure Start (which I have yet to discuss). The white coffee filters are to block the holes in the bottoms of the pots. The plants coming out of the quart white pots are variegated abutilons—my favorites.
I was surprised to find that we only have about 20 empty gallon pots remining. I never thought we would come close to using up the supply that I gleaned from the returned stack at Redwood Barn Nursery. I counted up the number of potted gallon pots around the yard and came up with 145.
If you would like your own portable propagation potting station, email me the greatest width of your wheelbarrow and I will cut you a work surface that will make this garden chore even more enjoyable.
Stan, The Tool Man
by Stan Logan | Jan 15, 2022 | Container plants, Garden tools, Irrigation
You know, it’s not easy coming up with a new tool to write about, but I am really excited about this one. As soon as I saw LaVille use it, I just knew there must be at least two other gardeners out there who would appreciate this one. If you are like my wife, she uses a watering wand almost daily. You see, she has probably around 100 potted plants that are under cover outside that don’t get the benefit of rain showers. So even in the winter, a watering wand is used regularly. The last wand was good—until it wasn’t. A crack appeared in the side of the aluminum shaft that caused LaVille to get sprayed along with the plants. I found that applying J-B Weld epoxy to the area, and wrapping with electrician’s tape sealed the leak. LaVille was still unhappy because . . . well, the wand was too long, the control valve was sticking, and the spray was irregular.
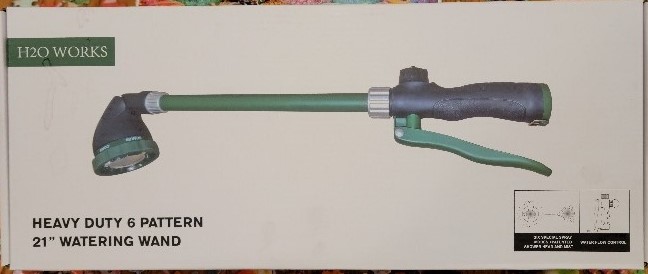
So I went to Amazon and ordered what you see below. This, in her opinion, is the perfect watering wand. Adjustable sprays, adjustable head direction, full and fine spray, and a short handle which can still reach higher up hanging plants and water a potted plant held in the other hand. (The full spray is emitted from around 200 minute holes!)
If you cannot read the description from the photo, I am talking about “H2O heavy duty 21 inch Watering Wand” from Amazon.
Happy watering,
Stan, The Tool Man
by Stan Logan | Nov 10, 2021 | Garden tools
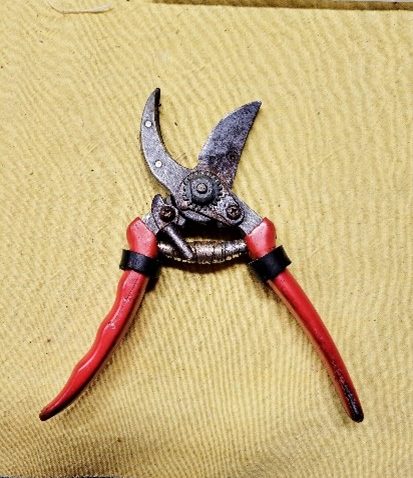
Before Plasti Dip Clippers |
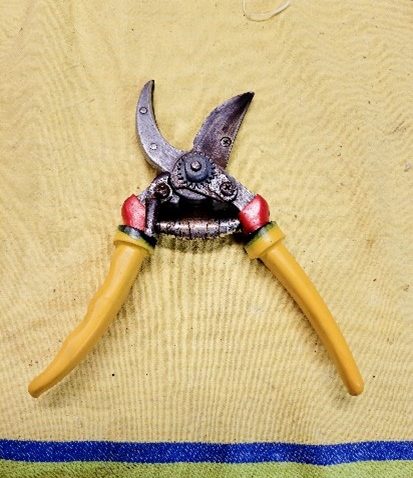 Clipper handles after Plasti Dip |
LaVille kept complaining about her favorite pruner. Her hand kept slipping down the handles toward the blades where she has less mechanical advantage. My first solution was to slide a couple pieces of rubber hose over the handles to act as slippage stoppers. Well, that worked fairly well except she started developing a callus where her hand met the black hose piece. My latest attempt to alleviate her agony was to buy a can of Plasti Dip. This is available on Amazon in a good variety of colors. I chose yellow as it is my go-to color for finding misplaced tools. You dip the tool handle into the tall, slender can and hang the tool to allow it to drip off excess and dry for 4 hours. What you see in the second photo is the result of 3 dippings.
You know, if you accomplish nothing else, you could use this technique to identify your own tools. Don’t you think it would be classy for all your tools to have the same color handles?
Quiz of the month. You will note that I ended up with a tool with red, black, and yellow handles. Name 3 major countries that have these 3 colors in their national flags. The first reader to respond by email with the correct answers gets . . . . nothing but my admiration. I know—Wow!
Stan, The Helpful Husband
P.S. You may have noticed in the first photo that the grips had worn through to the metal. You may consider this technique as a nifty means of tool upkeep. If nothing else, I would suggest you try Plasti Dip as simply a very different and easy project.
by Stan Logan | Aug 28, 2021 | Garden tools
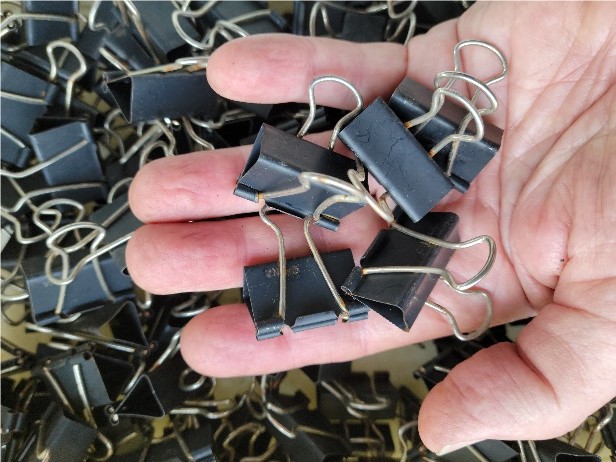
Well, if you don’t have a supply of clips, I certainly do! I have come into possession (trying to be vague here) of probably 100 stationery clips. I thought they would be useful for attaching photo labels at the upcoming Fall sale. Since Rise has been able to find some classy card holders for us to use, I have plenty of clips to share with everyone who can use them. You can see by the photo below how the clips could be used to seal a bag of garden fertilizer (remember my recent blog about fertilizer lumps?). They could also be used to attach plants to a structure—the clip would not have to pinch the plant. I am currently using clips to attach shade cloth to wire lines. Heck, you could use a clip to secure outgoing mail to your mailbox. Although these clips have a touch of rust on them, they have all been through the dishwasher, so they are clean enough to use in the kitchen to seal food bags. Right now, next to me, is a cupboard where I keep a huge bag of oatmeal that I get from Costco—sealed with a clip.
So, what I would like you to do in the next few days, is consider how you could use these clips. Then, when you grab and handful, let me know what you have come up with, and I can add an addendum to this blog. Help me out here—my editor says clips are boring.
Stan, The Blog Man
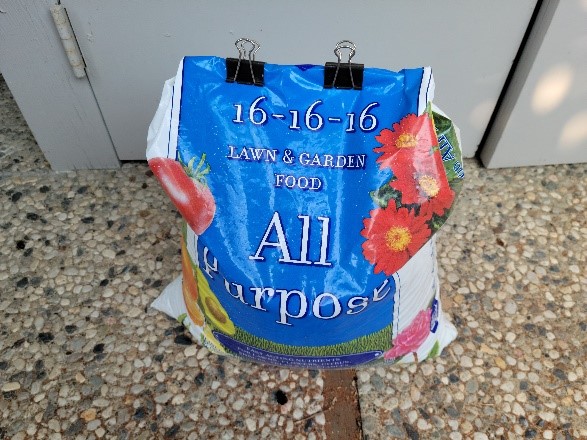
Stationery Clips repurposed to keep fertilizer from clumping
How many ways can you use stationery clips in your garden?