
Building Raised Planter Beds
With all the pandemic caused emphasis on home improvement, this would have been a good article to write a year ago. Better late than never. As usual, wanting to advise others comes as a result of mistakes I have made, some of which are described below.
Size: Length can be whatever you want. Width, however, should be no more than 4 feet. I have 3 beds that are 5 feet by 8 feet and it is difficult to do any work near the center of the beds. The one 4 footer is so much easier. The walls of my beds are made with three 2 x 6’s, so they are about 18 inches high. Now that I think of it, 24 inches would have been much better in terms of having to bend over less. But then, I think proportions look better at 18”—you gotta look good even if it’s painful. The higher you raise the box, the stronger the support needed to keep boards from bowing out if they are long. People use raised beds to make tending them easier and to create an enclosure for the new improved soil that can be brought in that, hopefully, plants will love. Most people find that a bed 10 or 12 inches high works well for them—not so much for growing tomatoes which are best planted 18 inches down.
Materials: Most people use wood. Redwood is probably the best. When you are picking out your 2-by boards, try to find those that have the most heartwood. The reddish heartwood is far more resistant to rot than the pale sapwood. Cedar is another good choice. Pressure treated wood is more controversial. No arsenic has been used in this wood since 2003-4. Currently 2 different copper compounds are used and although no traces of these chemicals have been found in either soil or vegetables, pressure treated wood is not recommended for planter boxes in which food is grown. You can alleviate you fears by lining the box with heavy plastic—say 6 mil. You can also seal the box with paint or another kind of sealer. One caution—avoid breathing the dust when cutting pressurized wood. Wear a mask. I know you know how to do that. More expensive, but far more durable is construction with masonry. There are all kinds of attractive alternatives here. The drawback is that you have to lean over farther to work with your plants and the material is not gentle on elbows and knees
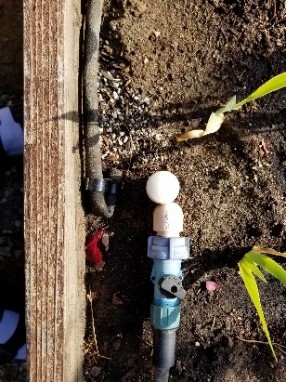
Misc. Plan ahead and bring irrigation lines up into the box. Cover the bottom with hardware cloth—you know, the substantial ¼” wire mesh, to keep varmints out. A layer of weed cloth will also discourage the invasion of roots from a nearby tree. Trust me—tree roots will love the great soil and water you have provided. If you are using wood, consider installing flat boards on the top edges for ease of sitting. Don’t just use screws to hold lumber together. Use lag screws, or better yet, use bolts with washers. If using lag screws, predrill to prevent splitting. You can attach a band of copper mesh around the outside to keep snails and slugs out—but not earwigs. Finally, as you can see below, if you use treated posts, you have to add preservative, sealer, or a cap to cuts that have exposed untreated interior areas.
|
In-box irrigation |
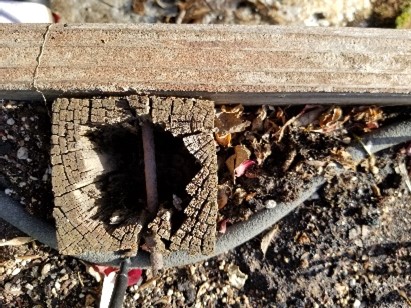 Rotting post |
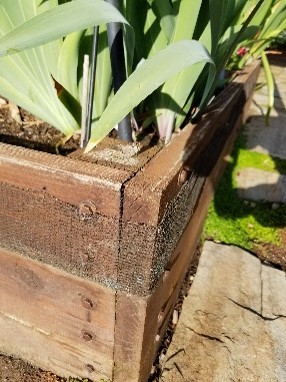 Copper mesh |
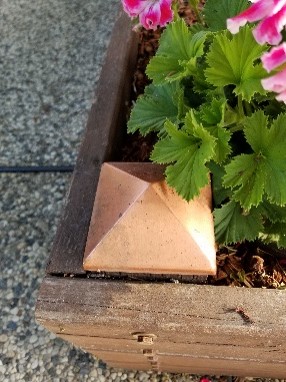 Post cap |
Why does most of my learning have to come at the expense of mistakes I have made?
Stan, The Blog Man